Hello there, Miners!🐹
Here is a step-by-step guide on how to create your own mining machine design just like RollerCoin artists do!
Prepare your mouses and graphic editors, because we are starting right now💥
It all starts with the design 📌
This guide was created by pixel artist from the RollerCoin team using Aseprite editor. Let’s start with our first step, shall we?
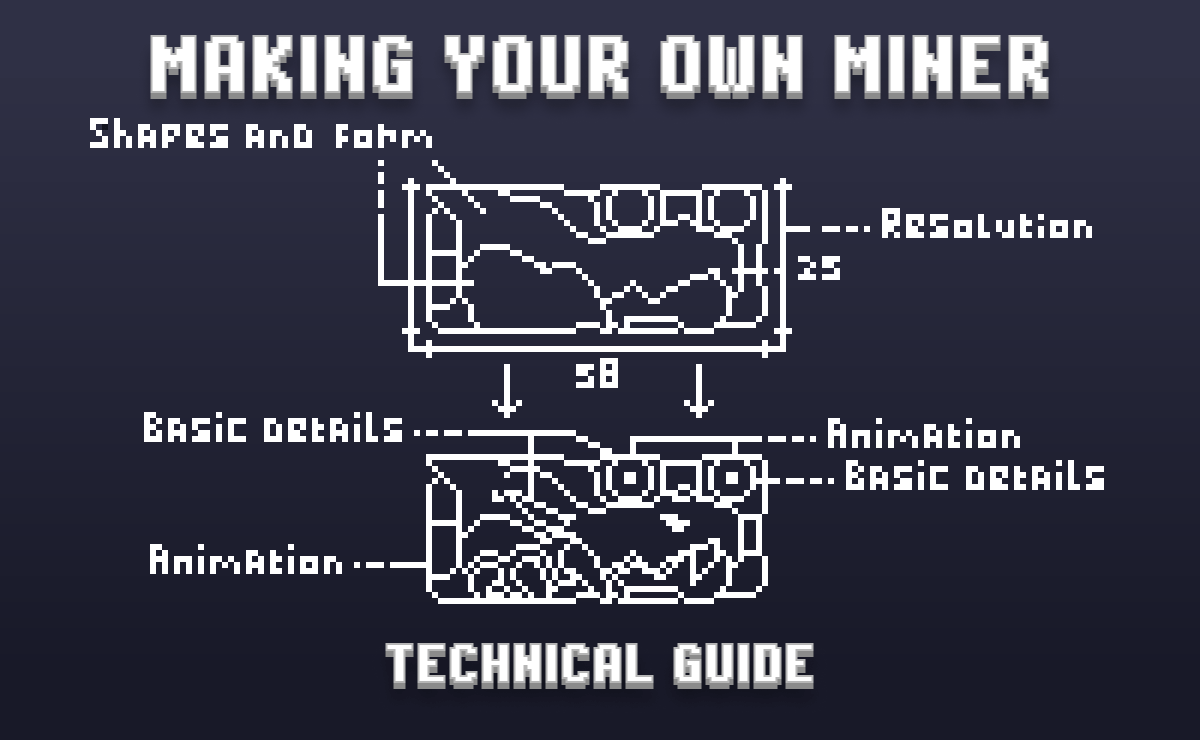
Step 1 — Resolution matters ☝️
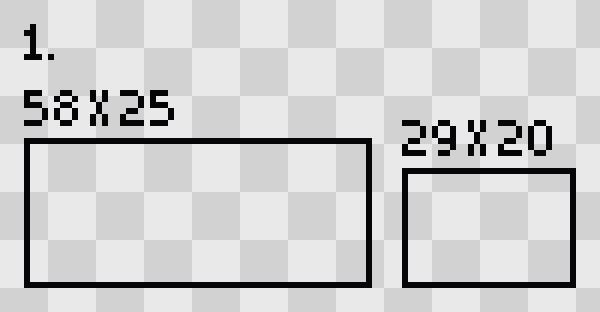
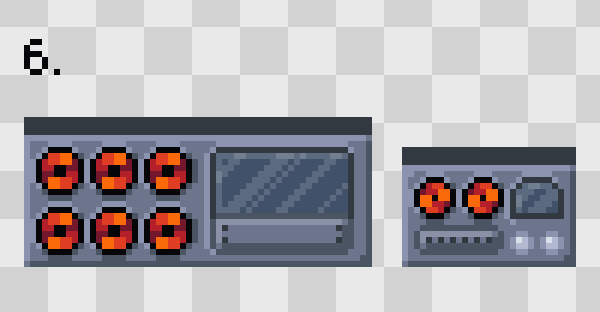
The only thing you should keep in mind is the resolution of your canvas 🖼
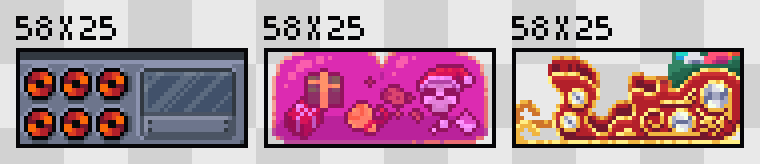
Your miner must not exceed 58×25 pixels for 2-cell miners and 29×20 pixels for 1-cell miners, as shown above 👆
Step 2 — Shapes and forms 🔹
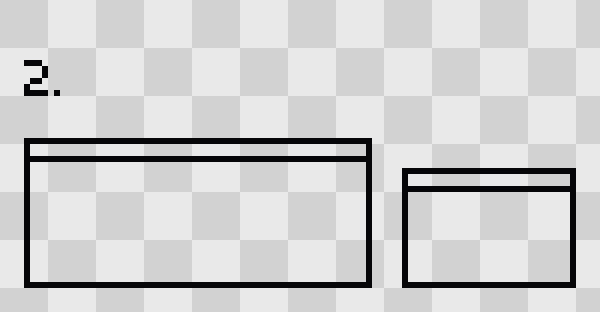
Start from the form of your miner, it can be anything from a simple box to more complex silhouettes 👨🎨
You can also add additional perspective details as shown in the picture
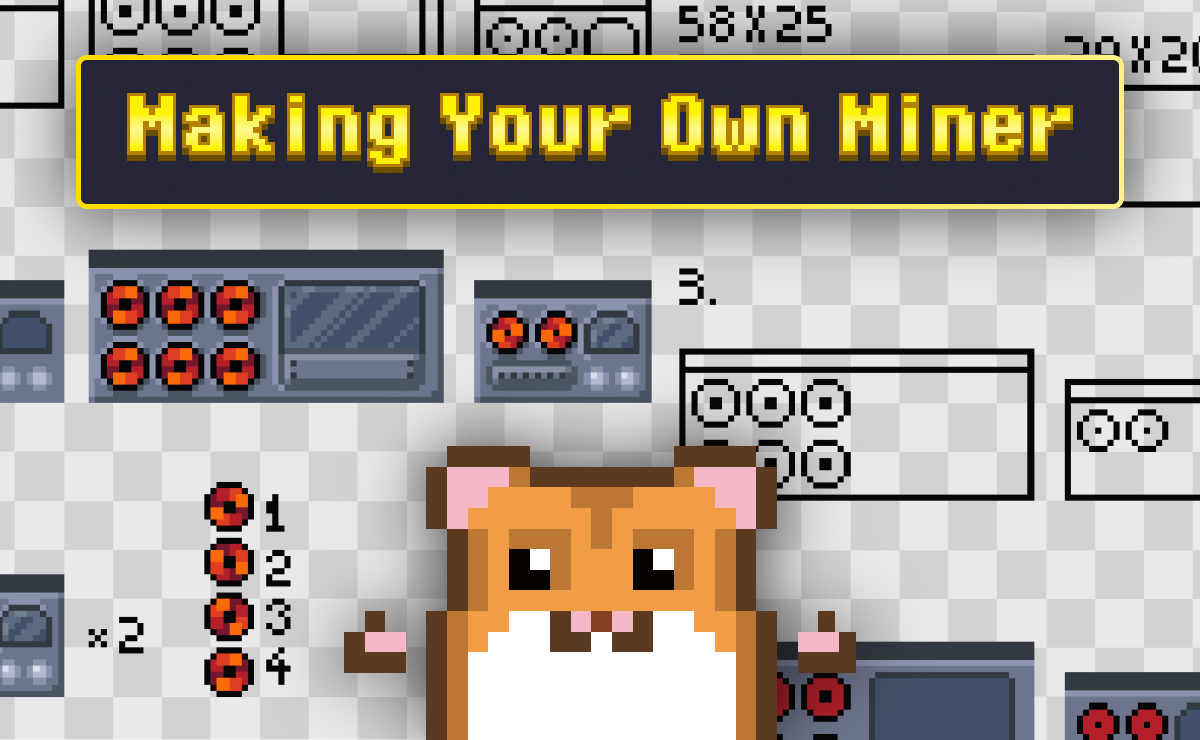
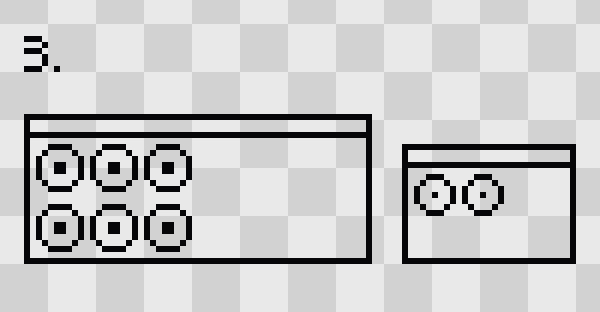
Step 3 — Adding basic details 🧩
Add smaller structure details, such as fans, to their approximate locations on the miner 🛠
Step 4 — More complexity 💥
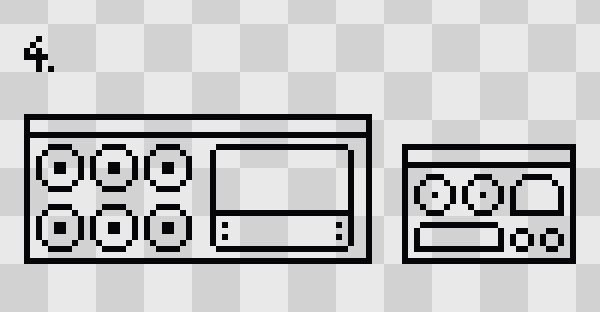
You can add more details to your mining machine before filling your miner up with color 🚀
Step 5 — Now in color! 🌈

Start from considering the main color pallet for every detail of your miner and make it bright and colorful! 🎨
Step 6 — Finishing touches 🎯
Once you decide on colors for your miner and all details you’d like to have, add more complexity to the overall design, such as highlights and shadows, reflections on glass surfaces and more to finish your design ✨
Time to animate! 💫
Well, your miner is ready, now it’s time to make it produce power! 🦾
How do I make it move?

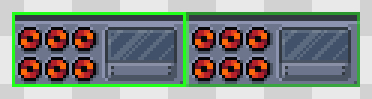
To prepare your mining machine for animation you need to create four frames of it, as shown on the image above 👆
Step 7 — Rotating fans and more 🪄
Choose the details of your miner that are going to be animated and draw 4 frames of the animation states
Speaking about our reference, the only thing to be animated is fans, so we created 4 frames of the miner, changing the position of fans in each frame that will work as our animation

Step 8 — Fun doesn’t end here 🤪
To finish your miner you will also need to add 2 frames with the selection outline, as shown in the example above 👆
Standard colors for the selection frames are:
HEX 22FF18 for primary selection
HEX 2B962E for secondary selection
No more steps, we’re done here ⛳

By the end of this tutorial you should have 4 frames with animation and 2 frames with selection outline
Place each frame next to another one and your miner is finally ready to be added to RollerCoin!
Export your final image in .PNG format and submit it using THIS FORM
Just a little notice 👇
The example we made in this guide is just a reference of how your future miner may look like. You absolutely don’t have to strictly follow all the steps (except the resolution of your miner). You can design your miner to be in any shape or color, have any details and artwork, the only limit is your imagination 🤩
We hope this Guide will help you to create your own unique designed miner, good luck!